Trixbox step-by-step Installation Guide for VMWare, Virtual BOX or Standalone PC.
Trixbox installation Guide
Download the latest Trixbox CE stable release from Trixbox Website
Burn it in to CD
Identify a suitable hardware ( or VMware virtual server)
Boot the machine with the CD ( For vmware virtual server you can directly mount the ISO)
And follow the below simple steps


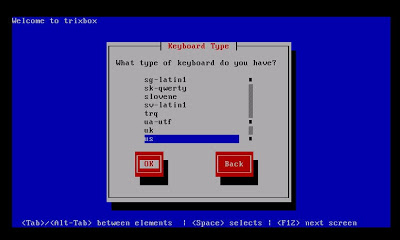
Select your Keyboard Type and press enter
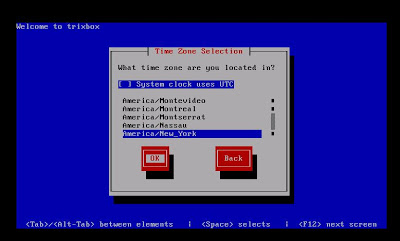
Select your Time Zone and press enter
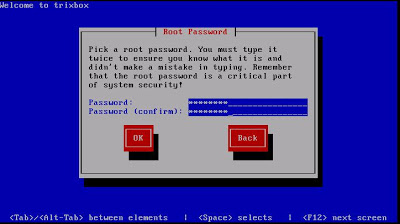
Enter the root password twice this will be the password you use when logging into the Linux command line ( Console Password )
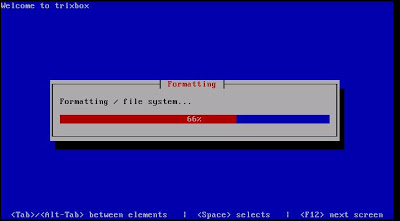
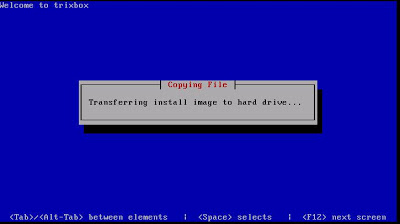
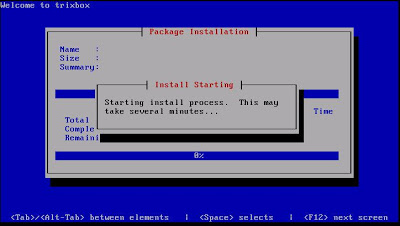
After entering the root password , the installation will start. This will automatically check the dependency, format the hard disk and start copying the installation file
Installation will take 15 to 30 min, based on your server performance.
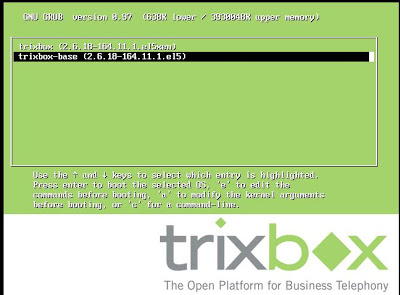
After completing the installation server will reboot.
After this automatic reboot your system should be ready
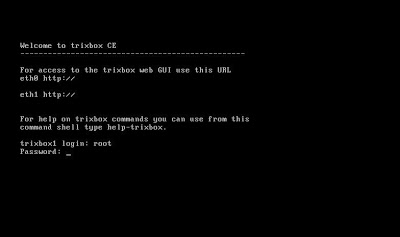
On console, login into you new trixbox with the
username: root and the
password : you selected during installation
Now you have to configure the network for your Trixbox.
This can be done either through console or through GUI
To configure it through console, run the below command on console
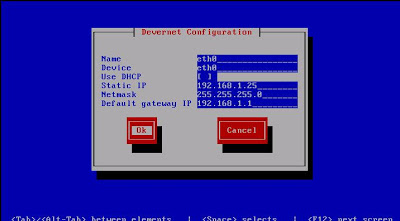
#system-config-network
This will open the network console ->edit device->select your network device and enter
This will open the console as shown below
Enter your ip,subnet,gateway details and press ok ->save
Edit DNS configuration and enter your DNS details -> save&quit
Now reboot the network service
#service network restart
Now you can access your trixbox form remote browser using this ip
http://192.168.1.25/maint/ (replace with your ip)
password : password
Thanks … it is easy to follow